Aluminium Door & Window Drawings: Architect Checklist
October 15, 2026
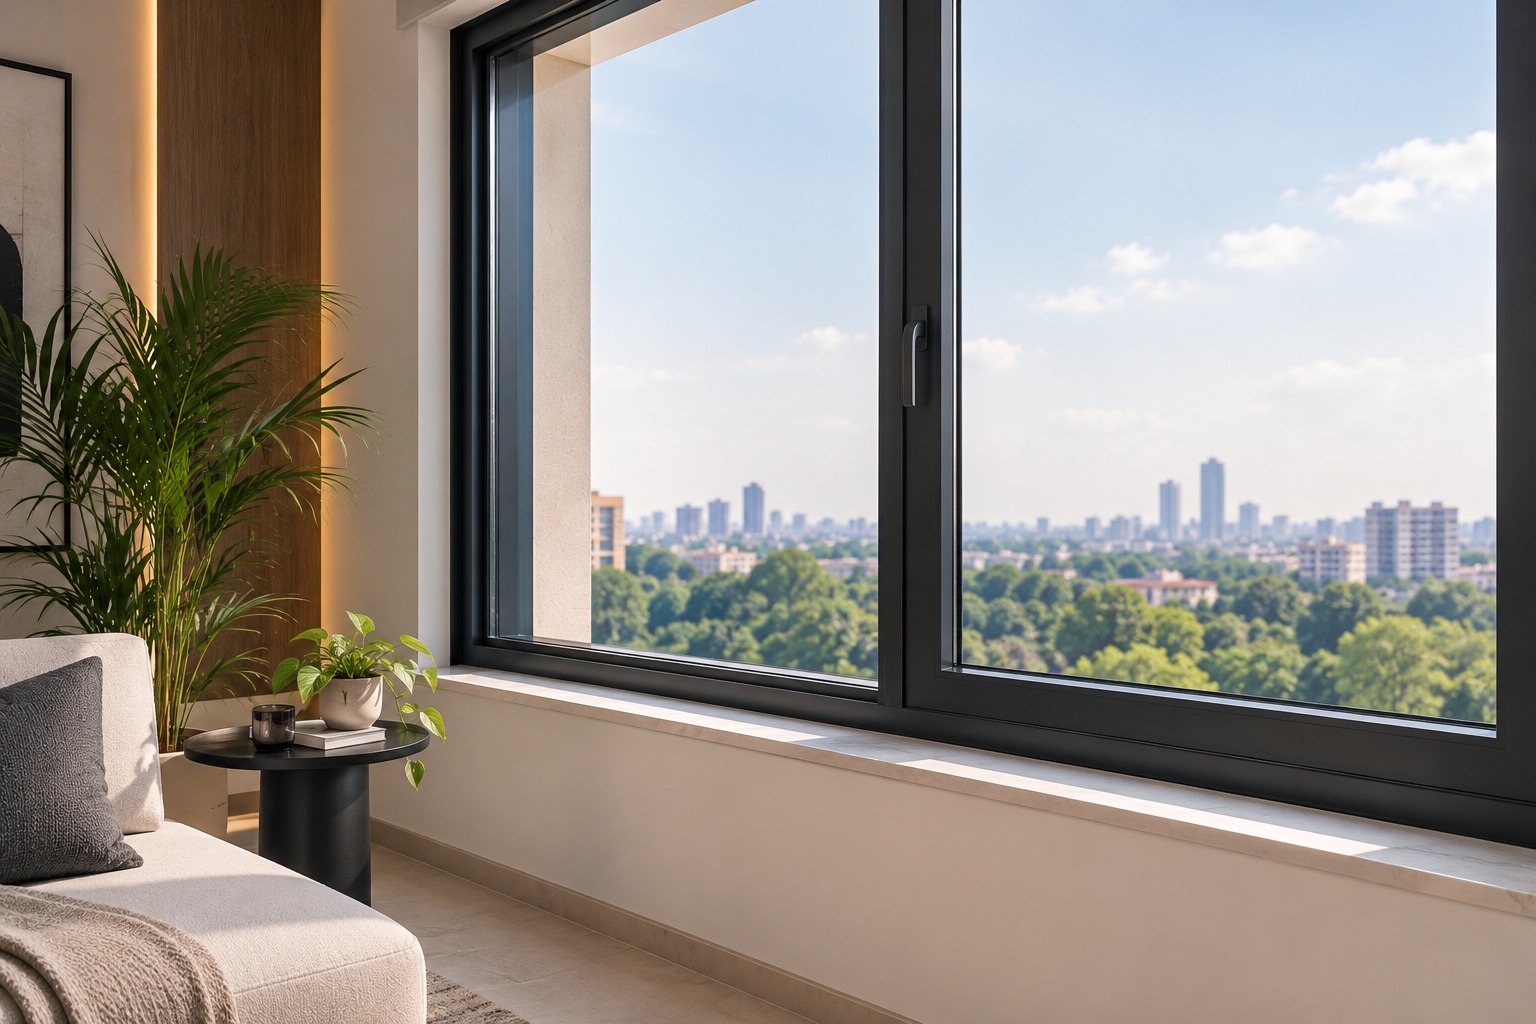
A well-designed aluminium window can lose much of its intended performance in the last few millimetres between the frame and the wall. Things like water leakage, difficult shutters, rattling panels and early seal failure are often blamed on the window system, even when the real problem began during installation.
That is why aluminium window installation needs more than fixing a finished frame into an opening. The site team has to check the opening, support the frame correctly, protect drainage routes, seal the perimeter and commission the hardware without distorting the system. Here are ten window installation mistakes worth catching before surrounding finishes make them harder and more expensive to correct.
Taking a Single Measurement Before Aluminium Window Installation
An opening may measure correctly at one point but still taper, bow, or go out of square elsewhere. Before installation, measure the width at the top, middle, and bottom; check the height on both sides; and confirm the diagonals. Finished floor levels, stone surrounds, plaster, waterproofing and other adjacent finishes should also agree with the approved drawings.
This becomes particularly important during window installation in Delhi NCR, where window work may be happening alongside civil, façade and interior packages. If a finished reveal reduces the opening unexpectedly, the installer should not solve the problem by forcing the frame into place or reducing a perimeter joint that was designed to accommodate fixing and sealing.
Installing the Frame Out of Level, Plumb or Square
The frame should establish the correct geometry before final fixing. It should not be pulled into shape simply by tightening anchors against an uneven wall because that can introduce distortion into the aluminium profiles.
A distorted frame can change sash clearances, gasket compression, locking alignment and roller movement. On larger windows and doors, these effects become more noticeable because heavier moving panels have less tolerance for an inaccurate opening.
Make sure to check level, plumb and diagonals before fixing, then check them again after the anchors have been tightened and the glass is in place.
Using the Wrong Fixings or Tightening Them Too Aggressively
Good aluminium window fixing has to secure the frame without changing its shape. An anchor placed too close to a corner or unsupported profile section can create local stress, while an over-tightened fixing can pull an otherwise straight frame out of alignment.
The correct fixing method depends on the window system, frame section and substrate, so anchor type and location should follow the approved installation detail rather than a standard site habit.
Brands like Cortizo, for example, show their products as a coordinated assembly involving sealing, a pre-frame, insulation elements, and an expansion fixing. The fixing is one part of the junction, not a detail considered on its own.
Leaving the Sill or Frame Without Proper Support
Packers help transfer loads into the supporting construction and keep the frame in its intended position after glazing adds considerable weight. Always use stable, non-compressible supports where the system requires them, particularly beneath heavy fixed panes, mullions, and larger door thresholds. Loose timber pieces or random site material can compress, move or deteriorate. For wide openings, the sill also needs the required support along its length so that the aluminium profile does not bridge irregular masonry and gradually deform under the glazed weight.
Treating the Window and Waterproofing as Separate Details
A window can have a well-designed internal drainage system and still allow water into the building if the frame-to-wall junction is poorly resolved. External sill falls, membranes, façade finishes, upstands and sealant joints have to move water away from the opening rather than towards vulnerable interfaces.
At Fabricasto, we treat this perimeter as part of the aluminium window installation guide, not leftover space to fill once the frame arrives on site. This is especially important on exposed elevations and balcony openings where wind-driven rain can reach junctions that remain relatively protected elsewhere.
The site team should also know where the waterproofing terminates before the window goes in. Once stone, plaster or cladding covers the interface, correcting a discontinuous membrane becomes far more disruptive.
Blocking Window Drainage and Weep Paths During Finishing
Many aluminium window systems collect and direct incidental water through designed chambers and drainage outlets. Problems begin when mortar, silicone, protective tape, dust or construction debris blocks those routes during later work. Before handover, clean tracks and drainage chambers and confirm that outlets remain open. Do not seal over an unfamiliar slot simply because it looks unfinished. If the function of an opening is unclear, check the system drawing before altering it.
Using Sealant as a Cosmetic Fix Around the Window
A neat silicone bead does not necessarily mean the window is sealed correctly. Good window sealing depends on the condition of the substrate, the size and movement of the joint and what sits behind the visible sealant.
Applying sealant over dust, damp masonry or loose plaster can weaken adhesion. A joint that is too thin or badly proportioned may also struggle with movement as the aluminium and surrounding construction expand and contract differently.
Published installation details from Cortizo show sealing working alongside the pre-frame, insulation and, in relevant junctions, waterproofing elements. The sealant should complete a prepared junction, not hide missing waterproofing or compensate for an opening that was never properly resolved.
Glazing Without Checking Blocks, Gaskets and Glass Clearances
Glass does not simply sit inside an aluminium frame. Setting blocks, location blocks, gaskets, and glazing beads hold it in the intended position while maintaining the clearances needed between the glass edges and the surrounding system. Gaskets also need full, consistent seating rather than being stretched into position or left short at corners. Once glazing is complete, operate the window again under its final weight. Problems that were invisible when the frame was empty can become obvious as soon as the glass is installed.
Letting Tracks and Hardware Take the Impact of Ongoing Construction
Windows are often installed before plastering, stone work, painting, carpentry and other interior activity has finished. This leaves tracks, rollers, hinges, and locking components exposed to dust, grit, wet material, and accidental impact.
Sliding tracks are particularly vulnerable because fine construction debris can become trapped beneath rollers. Instead of assuming that a newly installed slider needs lubrication when it becomes difficult to move, first clean the track and check whether the roller or frame has been damaged or pushed out of alignment.
Protect the system while dusty and wet trades continue. Once the site is cleaner, remove debris and adjust rollers, hinges and locking points under the final glazed load. Protective films should also be removed according to the system or finish supplier’s instructions rather than being left on indefinitely.
Skipping Final Testing and Commissioning Before Handover
Installation is never complete when the protective film comes off. Every operable sash should open, close, and lock without excessive force; drainage paths should remain clear; and the perimeter should be checked before access disappears behind curtains, joinery, or other finishes.
We, at Fabricasto, also use the commissioning stage to distinguish an installation adjustment from a product issue. That matters later because the homeowner and service team know what was checked, what was adjusted and which components need routine access rather than having to diagnose the complete opening again after handover.
Conclusion
Good aluminium window installation protects the work already done in design, engineering and fabrication. A square frame, correctly placed fixings, supported glazing, open drainage, and a properly prepared perimeter joint may not be details you notice when you enter a finished room, but they determine how the window performs under heat, dust, rain, and everyday use.
We, at Fabricasto, approach installation as the final part of the window system rather than a separate site activity. When engineered systems such as Cortizo are installed to coordinated details and checked before handover, the design intent has a much better chance of carrying through from the drawing and workshop to the finished opening.
A correctly installed aluminium window should sit level, plumb and square, with even sash gaps and smooth operation. Locks should engage without forcing the handle, perimeter seals should remain continuous, and drainage outlets should stay clear. Check the sill and surrounding wall after rain as well, because some installation problems only appear under water exposure.
There is no single perimeter gap that suits every aluminium system, wall type and fixing method. The required joint depends on frame dimensions, opening tolerance, anchors, packers, sealant design and surrounding finishes. Use the approved shop drawing and installation detail rather than choosing an arbitrary gap and filling whatever remains with sealant or foam.
Water may enter through the frame-to-wall joint, blocked drainage, poor sill falls, discontinuous waterproofing or incorrectly fitted gaskets. Finding the wet patch isn't enough because water can travel before it becomes visible indoors. Check the drainage route, external junctions and perimeter seal systematically before applying additional silicone over the symptom.
Silicone can form an important part of a perimeter joint, but it should not replace correct waterproofing, drainage or joint preparation. The sealant needs suitable substrates, adequate joint geometry and good adhesion. If the external sill sends water towards the frame or internal drainage is blocked, another surface bead of silicone rarely solves the underlying problem.
The sequence depends on the construction method and approved interface detail. What matters is that the final opening dimensions, waterproofing and frame position are controlled, and that later plaster or stone work does not block drainage or bury serviceable parts. Coordinate the installation sequence before work starts instead of deciding it separately for each opening.
Common causes include a frame fixed out of square, debris in the track, damaged rollers, poor adjustment or a sill that has distorted under fixing pressure. Large glass panels make these issues more noticeable. Clean the track first, then check frame geometry and roller adjustment rather than assuming lubrication alone will correct difficult movement.
After glazing, recheck sash alignment, roller or hinge operation, locking points, gasket seating, and glass support. Glass adds significant weight, so a sash that operated correctly before glazing may need adjustment afterwards. Also confirm that glazing blocks remain in their intended positions and that beads and gaskets are fully engaged around the complete perimeter.
Noise control depends on more than the glass specification. Gaps at the frame perimeter, poor gasket compression, misaligned sashes and incomplete sealing can create easier paths for sound. A high-performance glass build-up therefore cannot compensate for careless installation. Check the whole opening, including frame-to-wall joints and closing pressure, when acoustic performance matters.
Operate every sash, handle, and lock; inspect perimeter seals; check glass and finishes for damage; and make sure drainage outlets and tracks are clean. Record any adjustments still required and keep system information for future servicing. For larger projects, agree a consistent handover checklist, so the same checks happen across all installed openings.
Delhi NCR combines strong summer heat, dust, seasonal rain and significant temperature variation, so exposed window joints and moving parts have several conditions to handle. Good drainage, clean tracks, suitable sealant joints and correct alignment become especially important. Site dust during construction also makes protection and final cleaning important before the windows enter regular use.



Mon - Sat 9.00 to 17.00
+91-9818630247
Mon - Sat 9.00 to 17.00
+91-9818630247

Fabricasto is a trusted provider of premium doors, windows, skylights, retractable roofs, and internal partition systems. We deliver innovative architectural solutions designed to enhance aesthetics, functionality, comfort, and long-term value for residential and commercial spaces.
341, CRC Estate, MG Road, Sultanpur, New Delhi 110030
SCO-7, Block-E, Mohali Citi Centre Avenue, Punjab
Faridabad, Pali Village, Haryana 121004